I modded three trinity Xbox 360's with the Reset Glich Hack 3.0 (RGH3) and installed the Aroura Dashboard as well with downloading the data off of our physical game discs to preserve them. I choose to do this project because I wanted to do something revolving electronic tinkering to have more reasons to solder things, and most importantly I won these Xbox 360's from an auction and needed to do something with them. So I'll walk you through the process of how I managed to pull this off. To start I followed these guides on performing the RGH 3.0, for more detail feel free to look through these websites.
- Parimary RGH3 Tutorial - MrMario2011
- Secondary RGH3 Tutorial - TheWeekendModder
- Aroura Dashboard Setup - MrMario2011
- 1.Take apart the Xbox and strip it down to just the motherboard.
- 2.Prepare two wires, one with a 10k Ohm resistor and one without.
- 3.Prepare four spots on the backside of the motherboard. One of the spots requires you to scratch away the silkscreen to expose the metal traces and is extremely tiny.
- 4.Flash a Raspberry Pi Pico with software that reprograms the Xbox's NAND.
- 5.Solder seven wires to the top side of the motherboard, connect them to the Raspberry Pi Pico, and then run the program that reprograms the NAND.
- 6.Plug the power supply into the Xbox to start it up. If done correctly, you should see the "XELL RELOADED" blue screen, which gives you special codes to input into the Raspberry Pi Pico program to finish setting up the Aurora Dashboard.
- 7.Once setup is complete, unplug and desolder all the wires, reassemble the console, and enjoy an RGH'd Xbox 360.
These first two images show me opening the consoles, and I have to say this was probably the most difficult part, purely because the two side pieces of plastic on the case seem to be designed never to be removed. It feels like you have to break the plastic tabs to get them off. Luckily, I took my time and didn't snap any of the plastic clips but at times it felt like I broke it all.

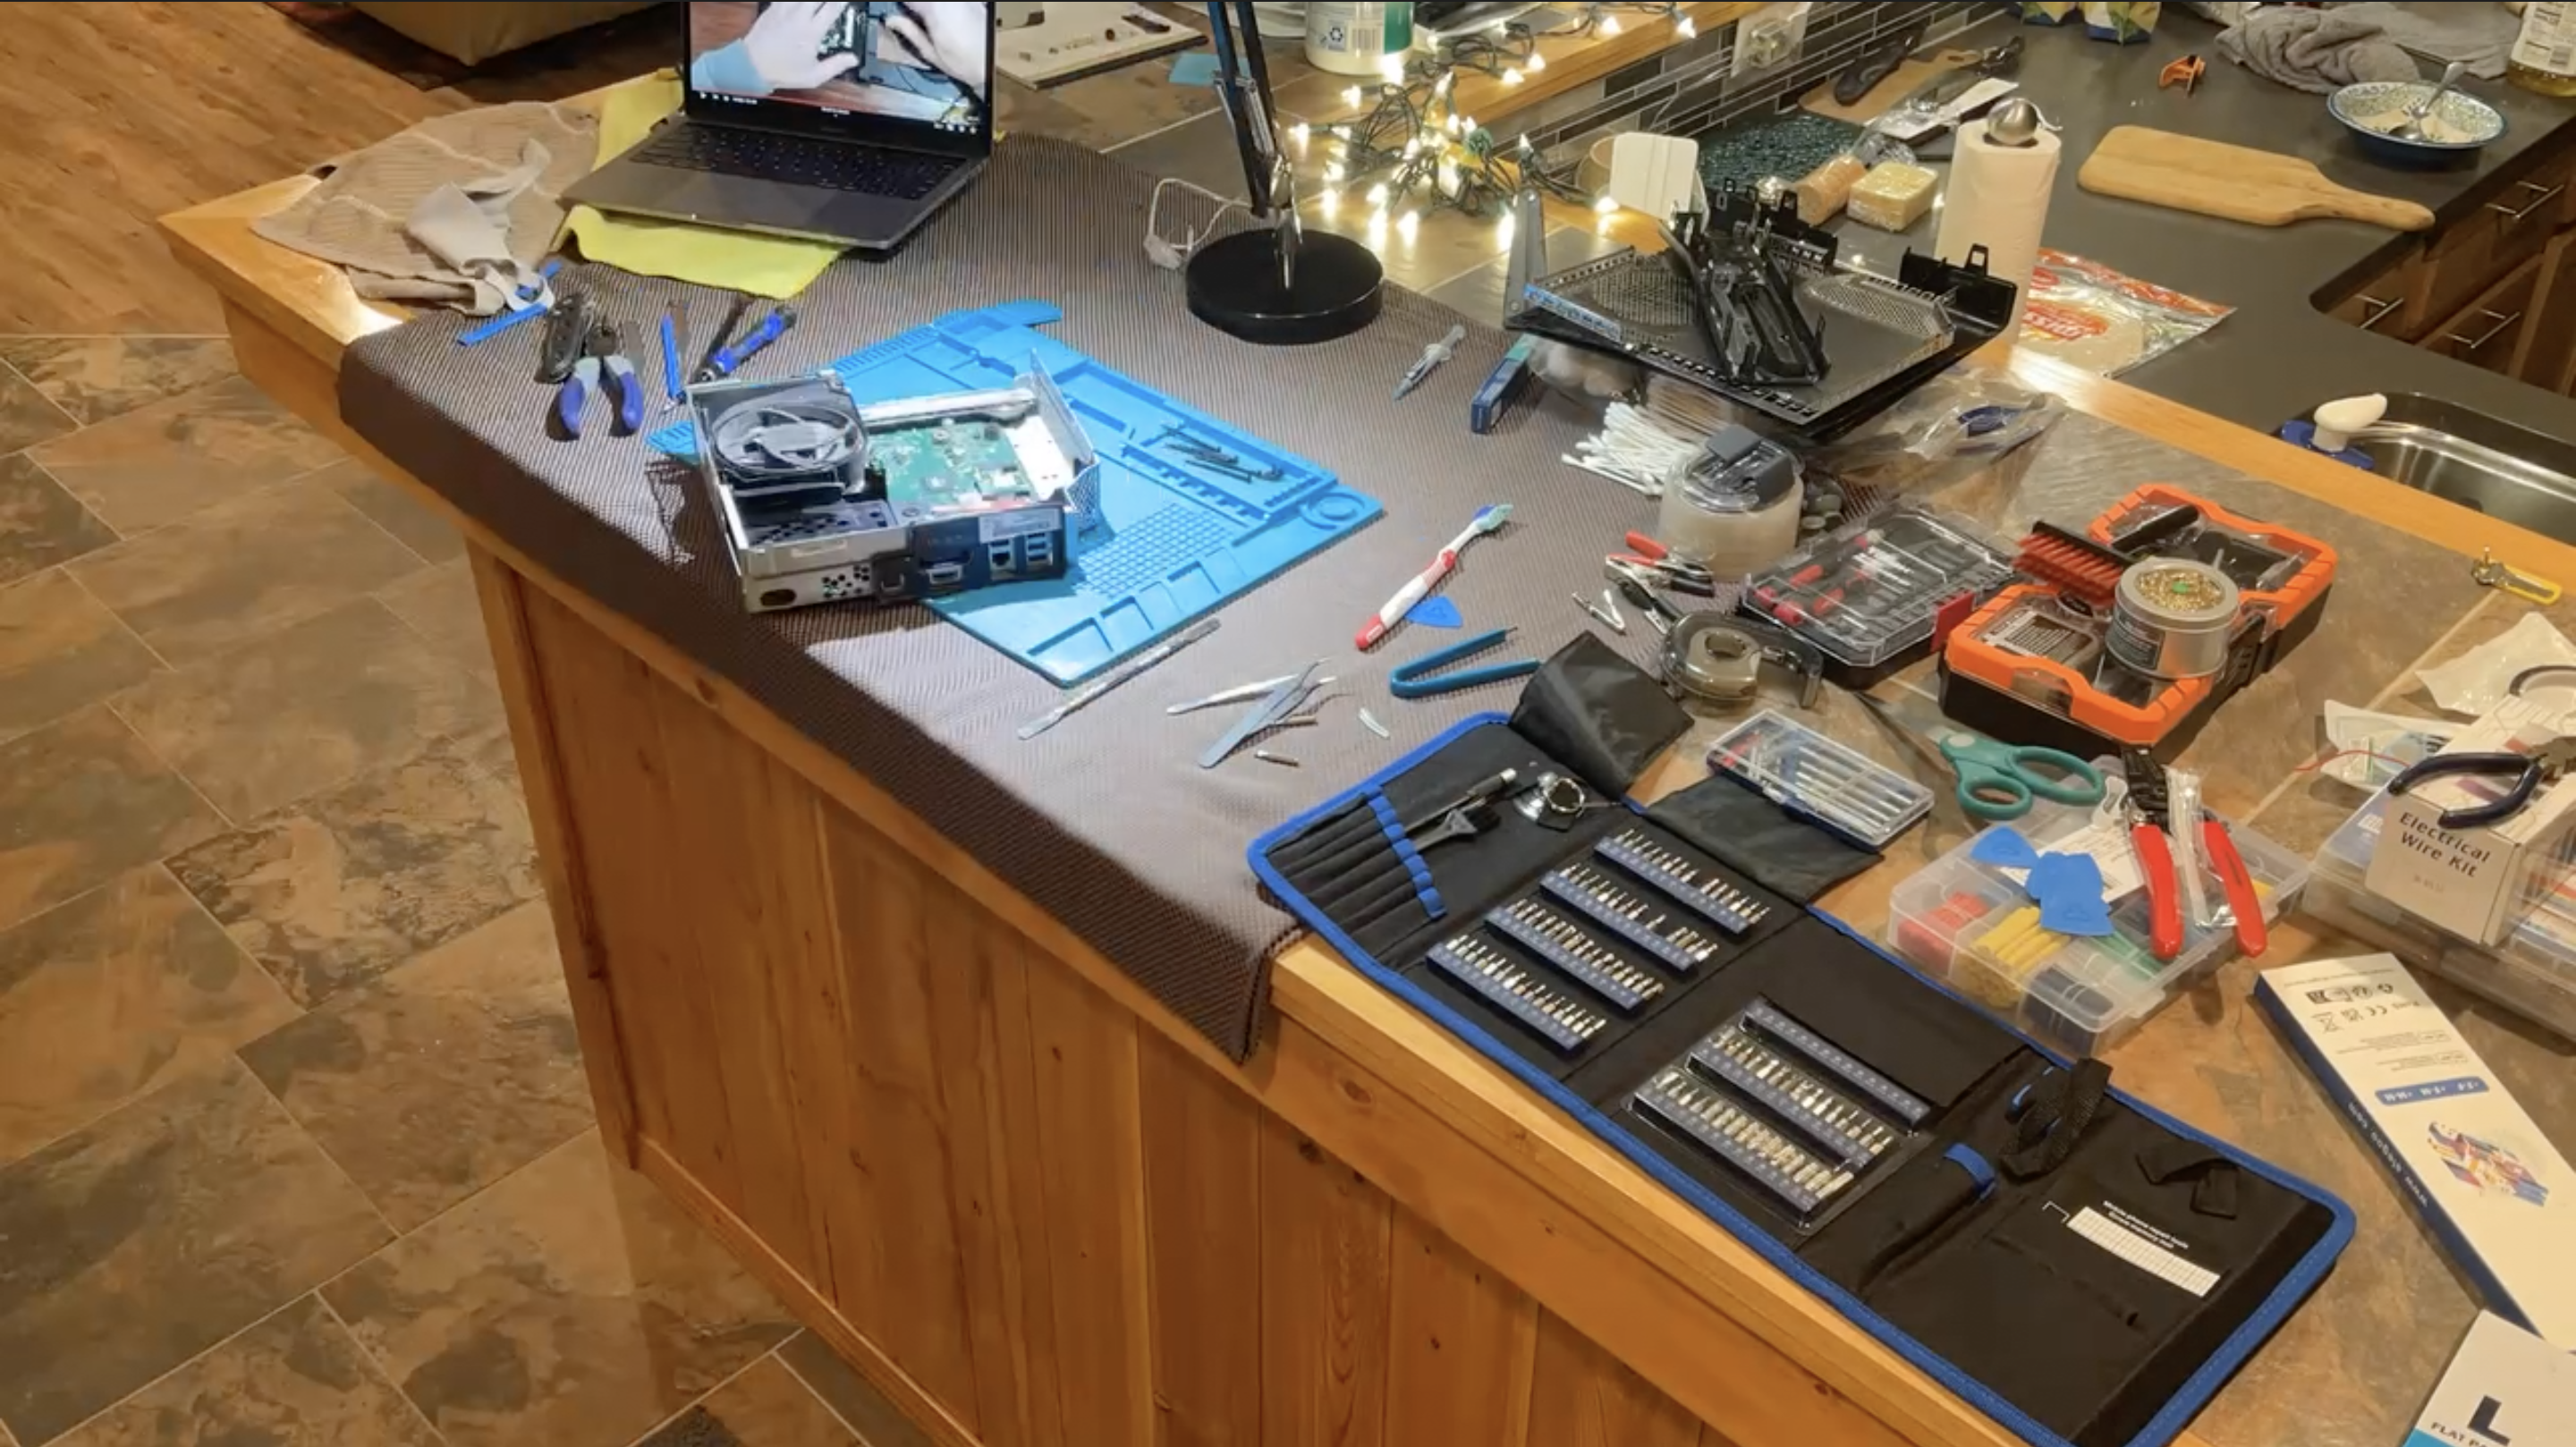 When preparing the two wires I needed and soldering them onto the motherboard, I had to work under a kitchen fan because of the fumes released when you melt solder and flux.
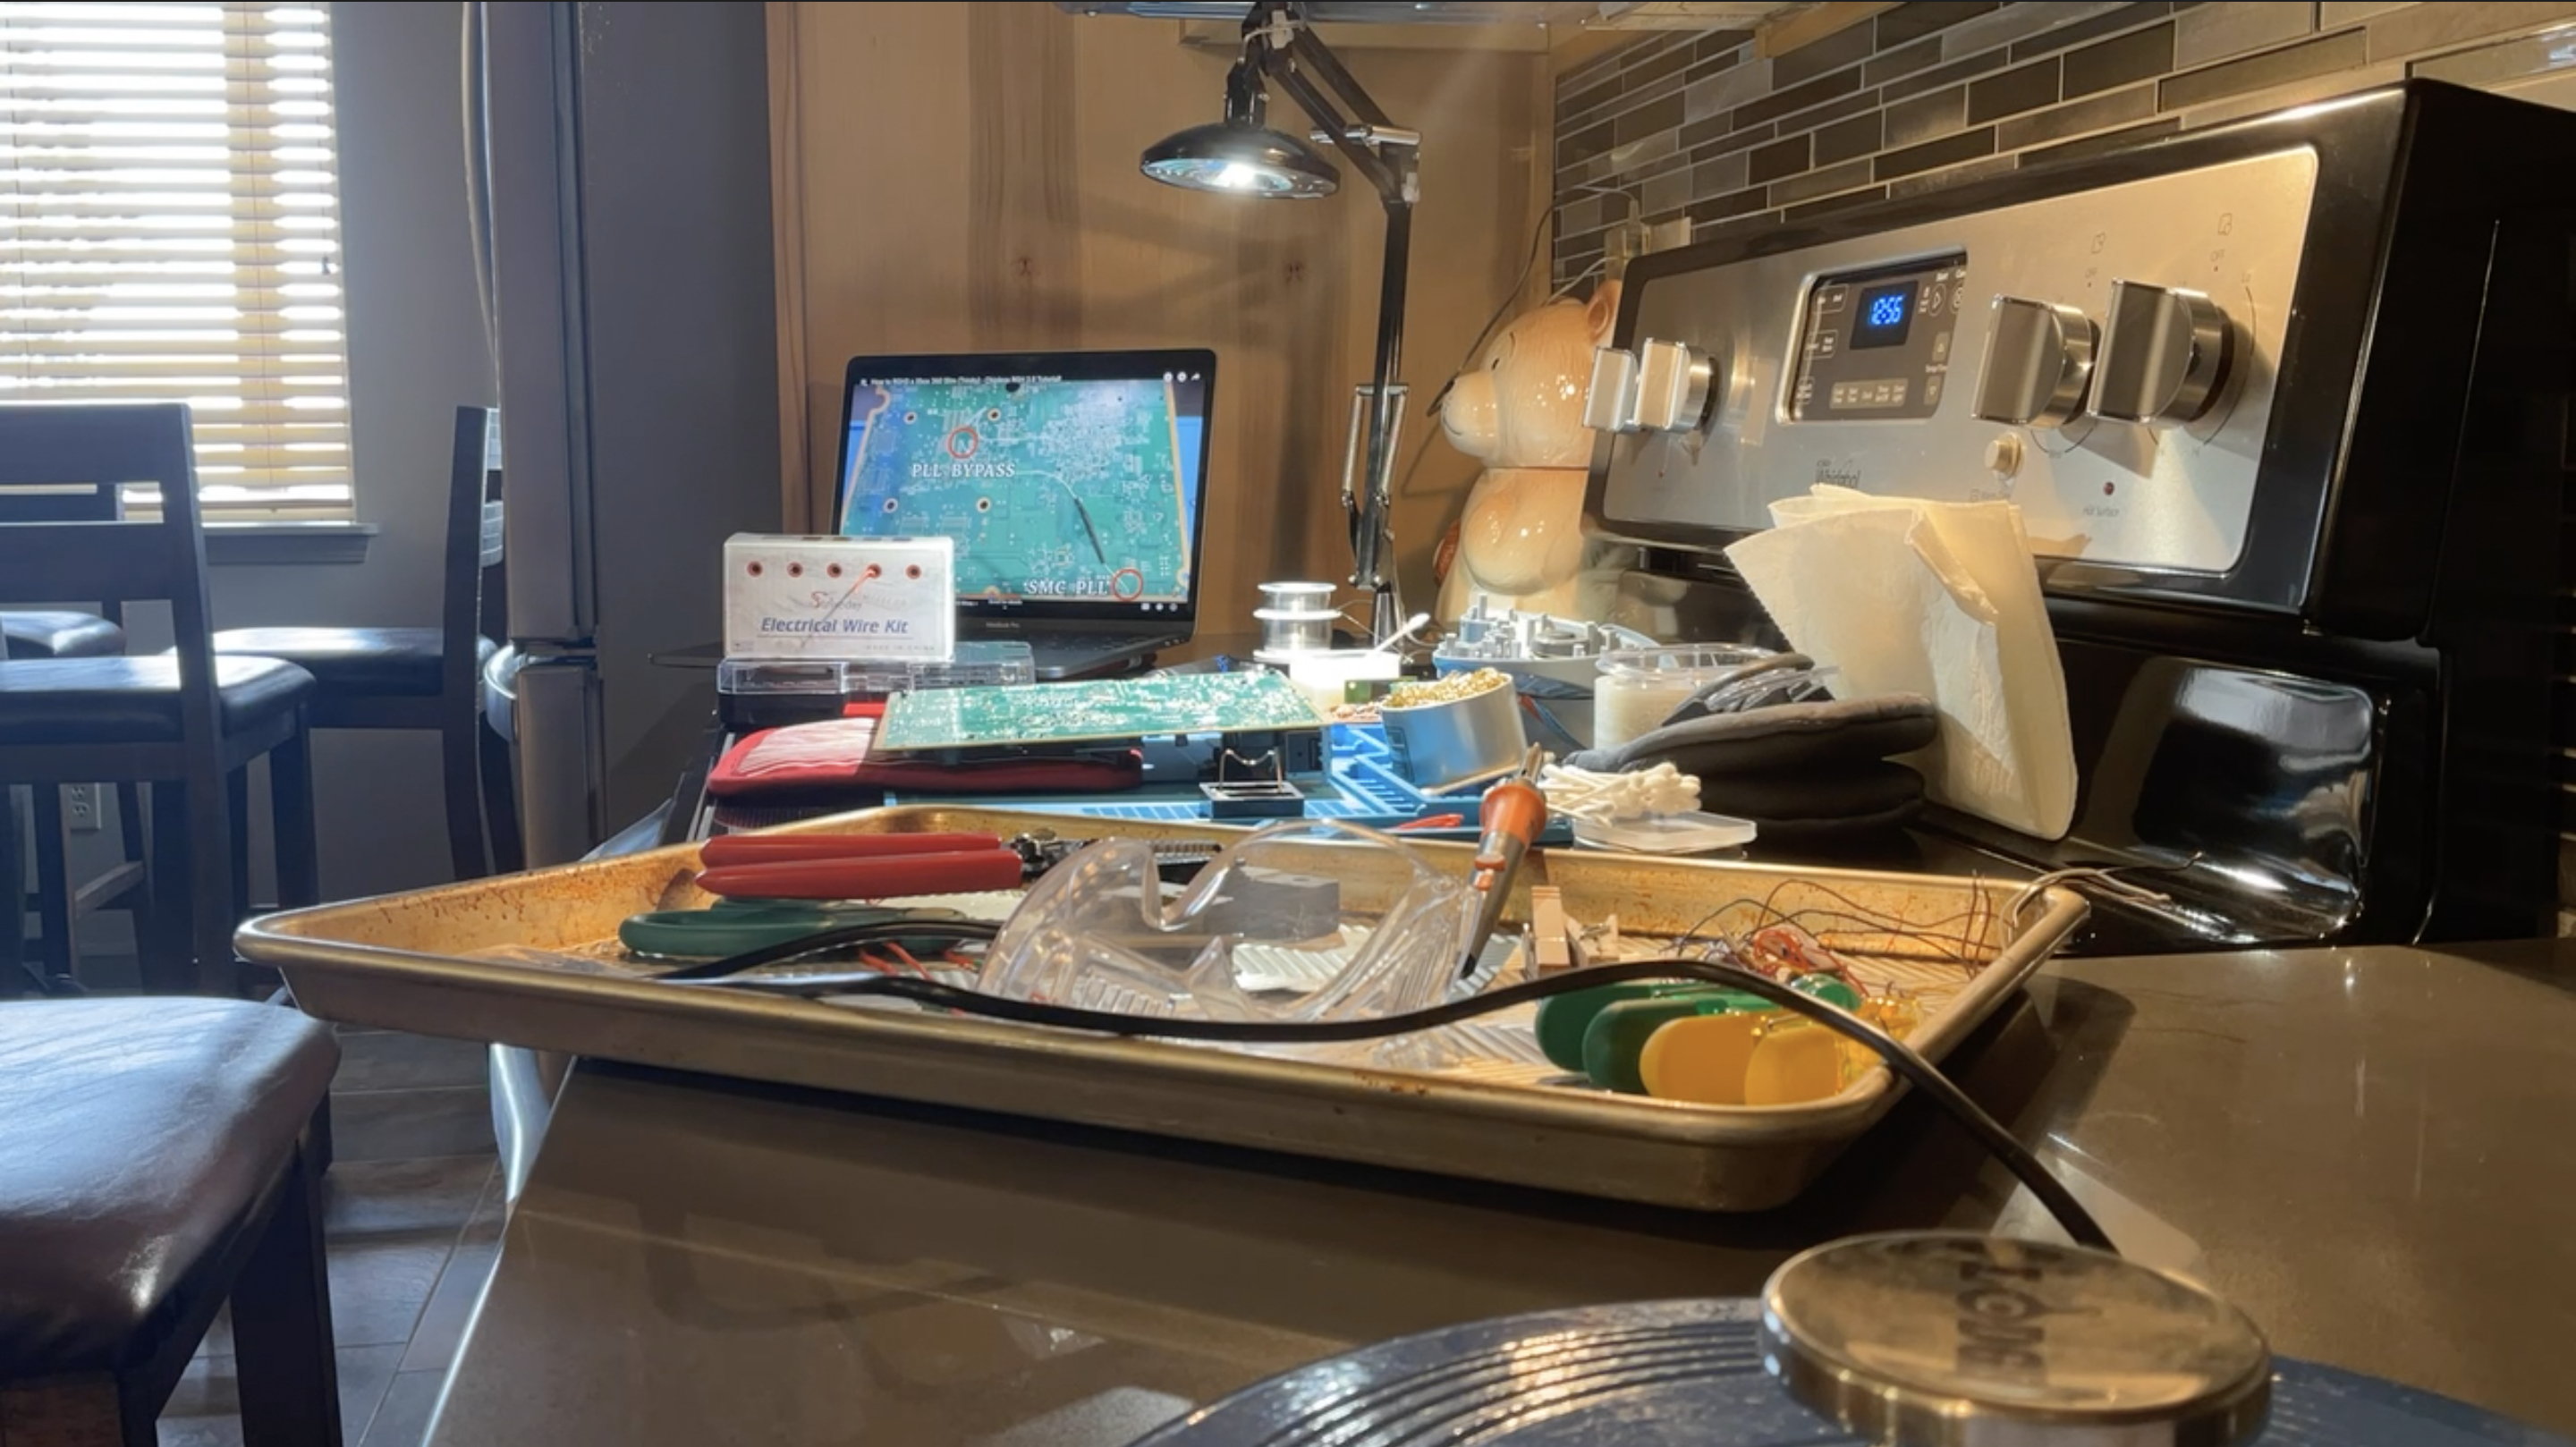 The backside of the motherboard is where I had to solder the two wires. To give you a sense of scale for how small some of this work is, the black circle in the top right is about the size of a dime.
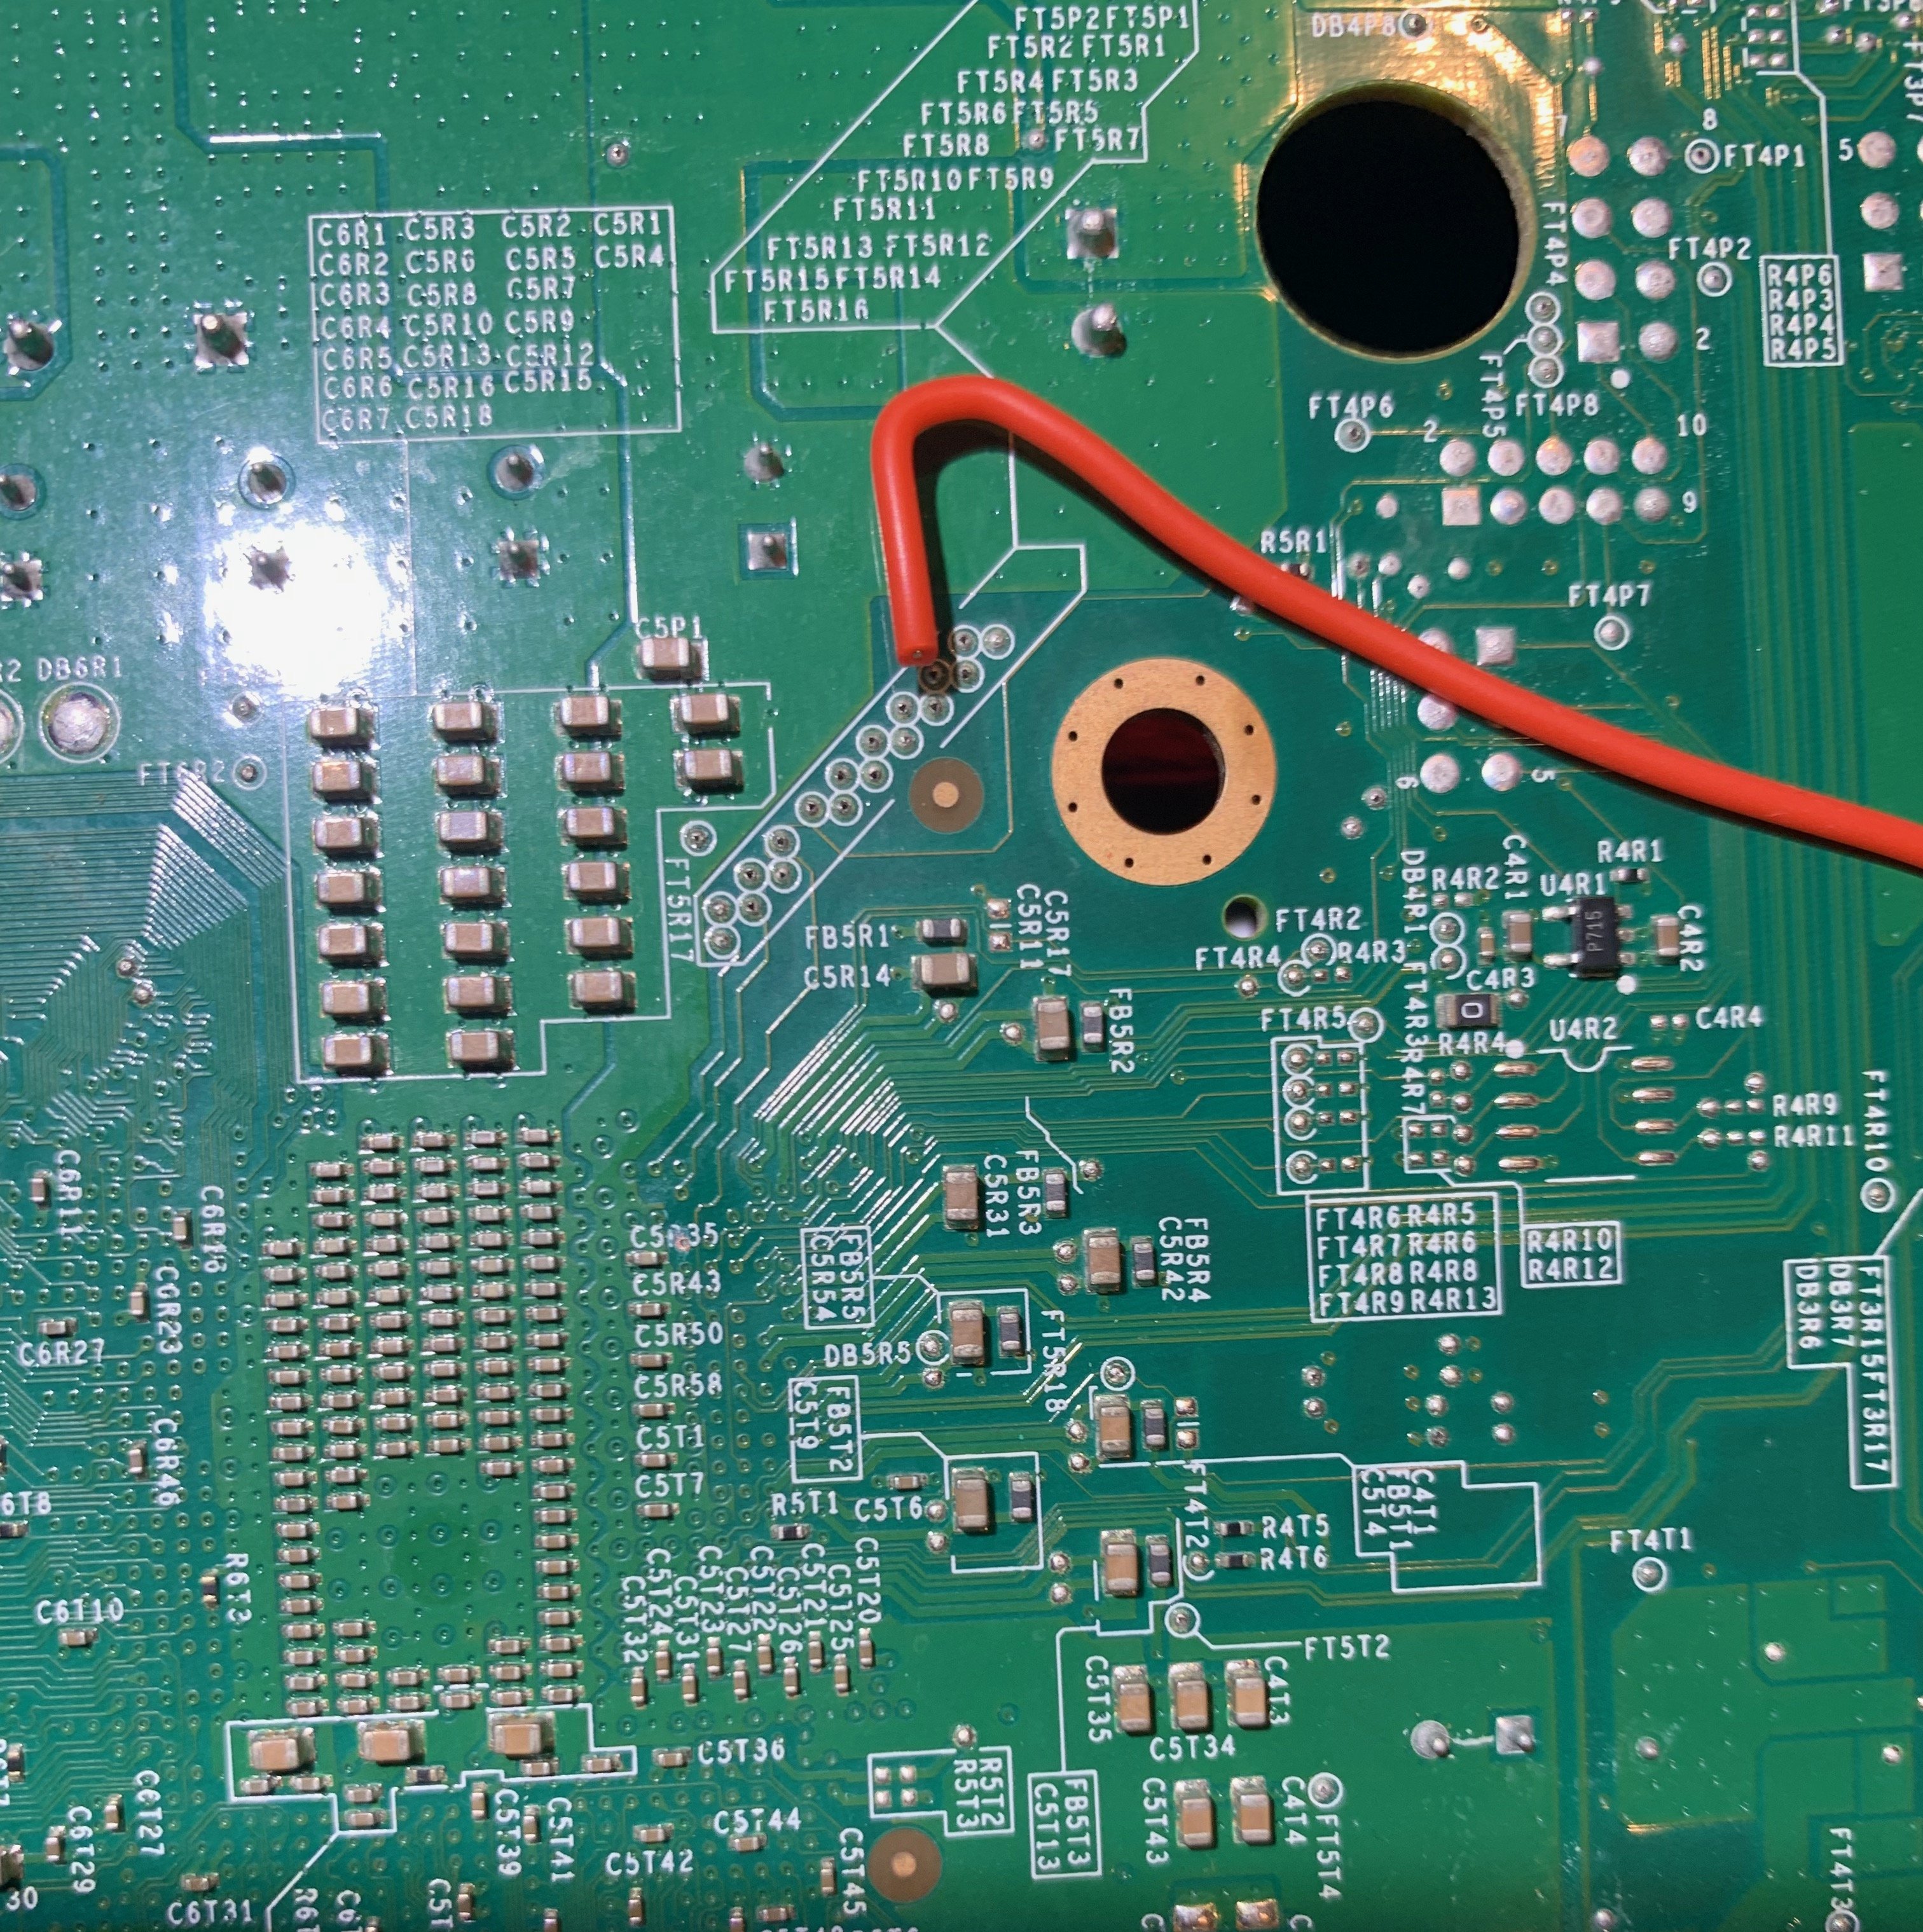 Where the red arrow is pointing, you can see one of the spots where I had to scratch away the green silkscreen from the board to expose the metal trace.
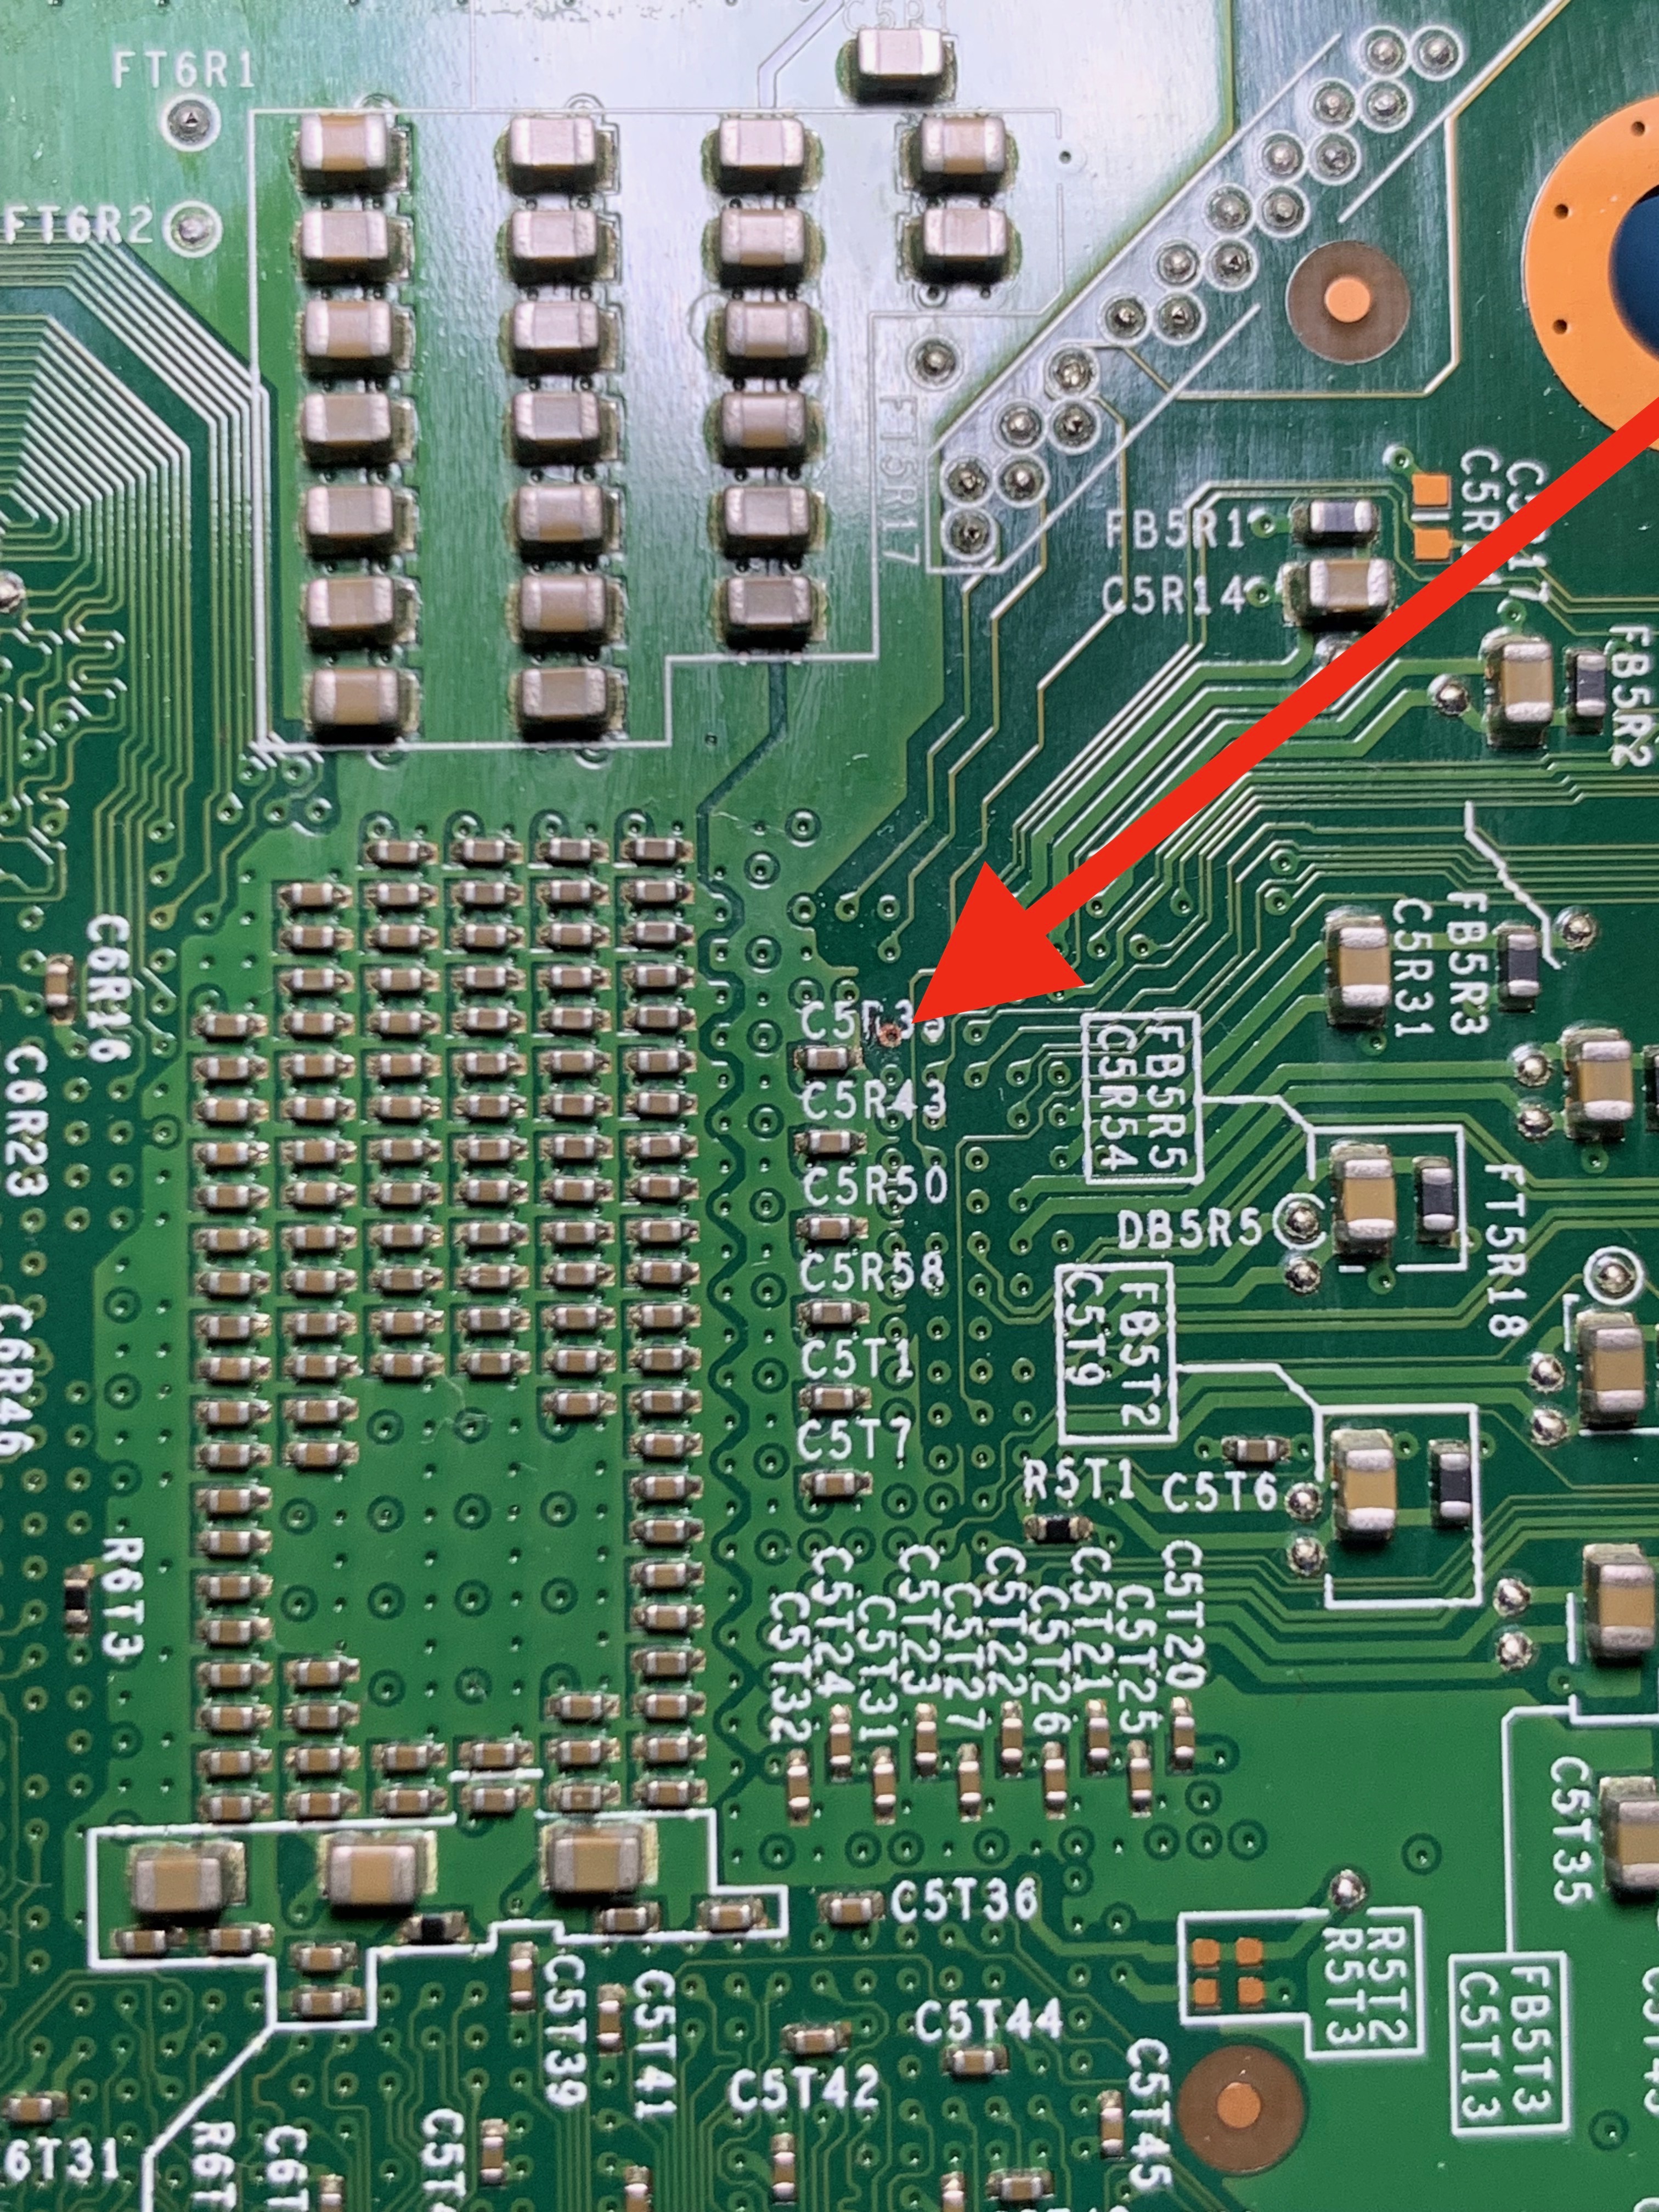 This is how tiny the spot I needed to scratch away is. The worst part is that if I accidentally scratched away the silkscreen for the line trace going up and down between the "3" and "5," it would brick the entire console.
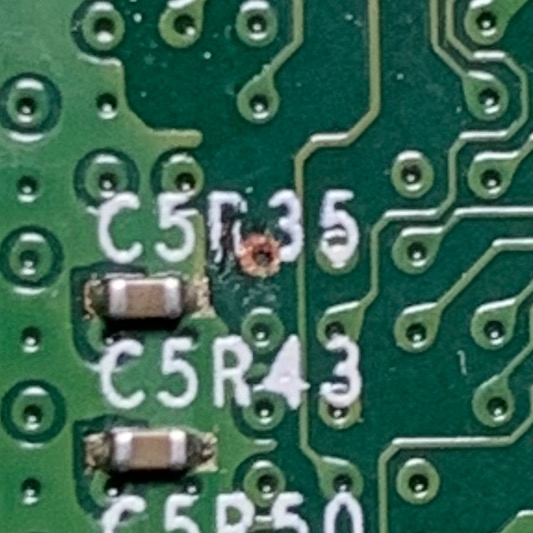 Here is what it looked like after I successfully soldered the two wires to the motherboard.
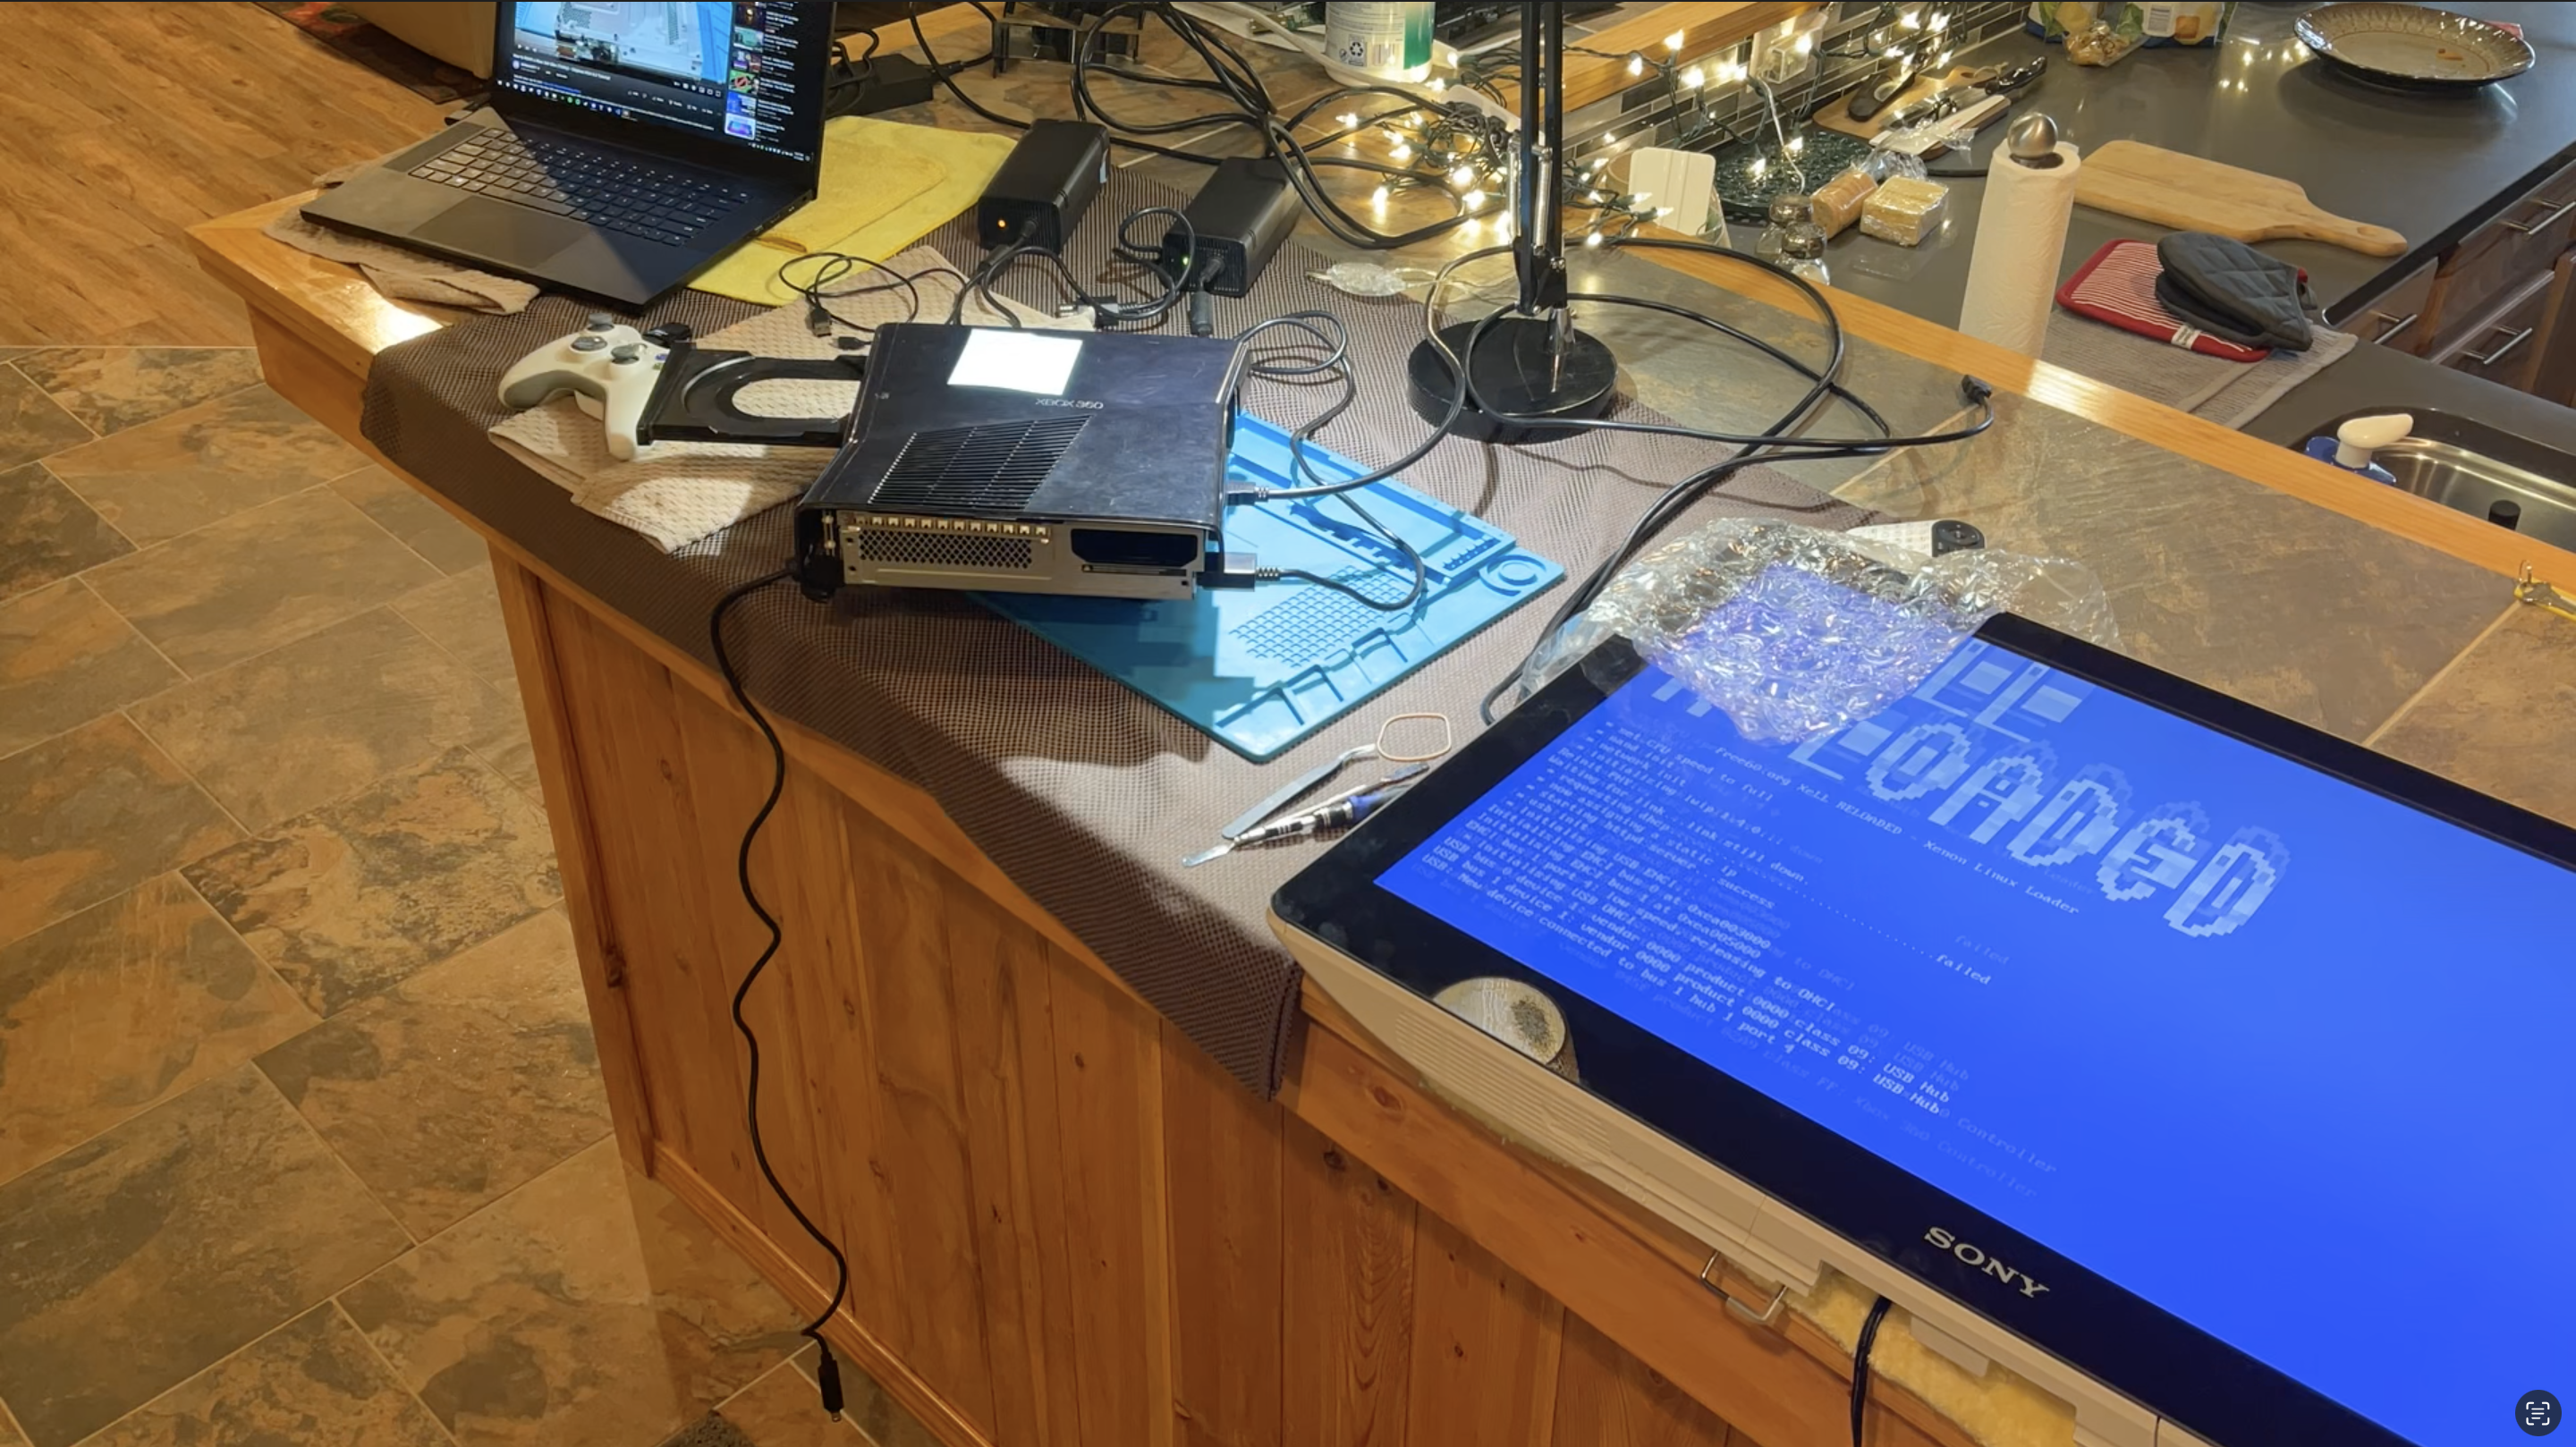
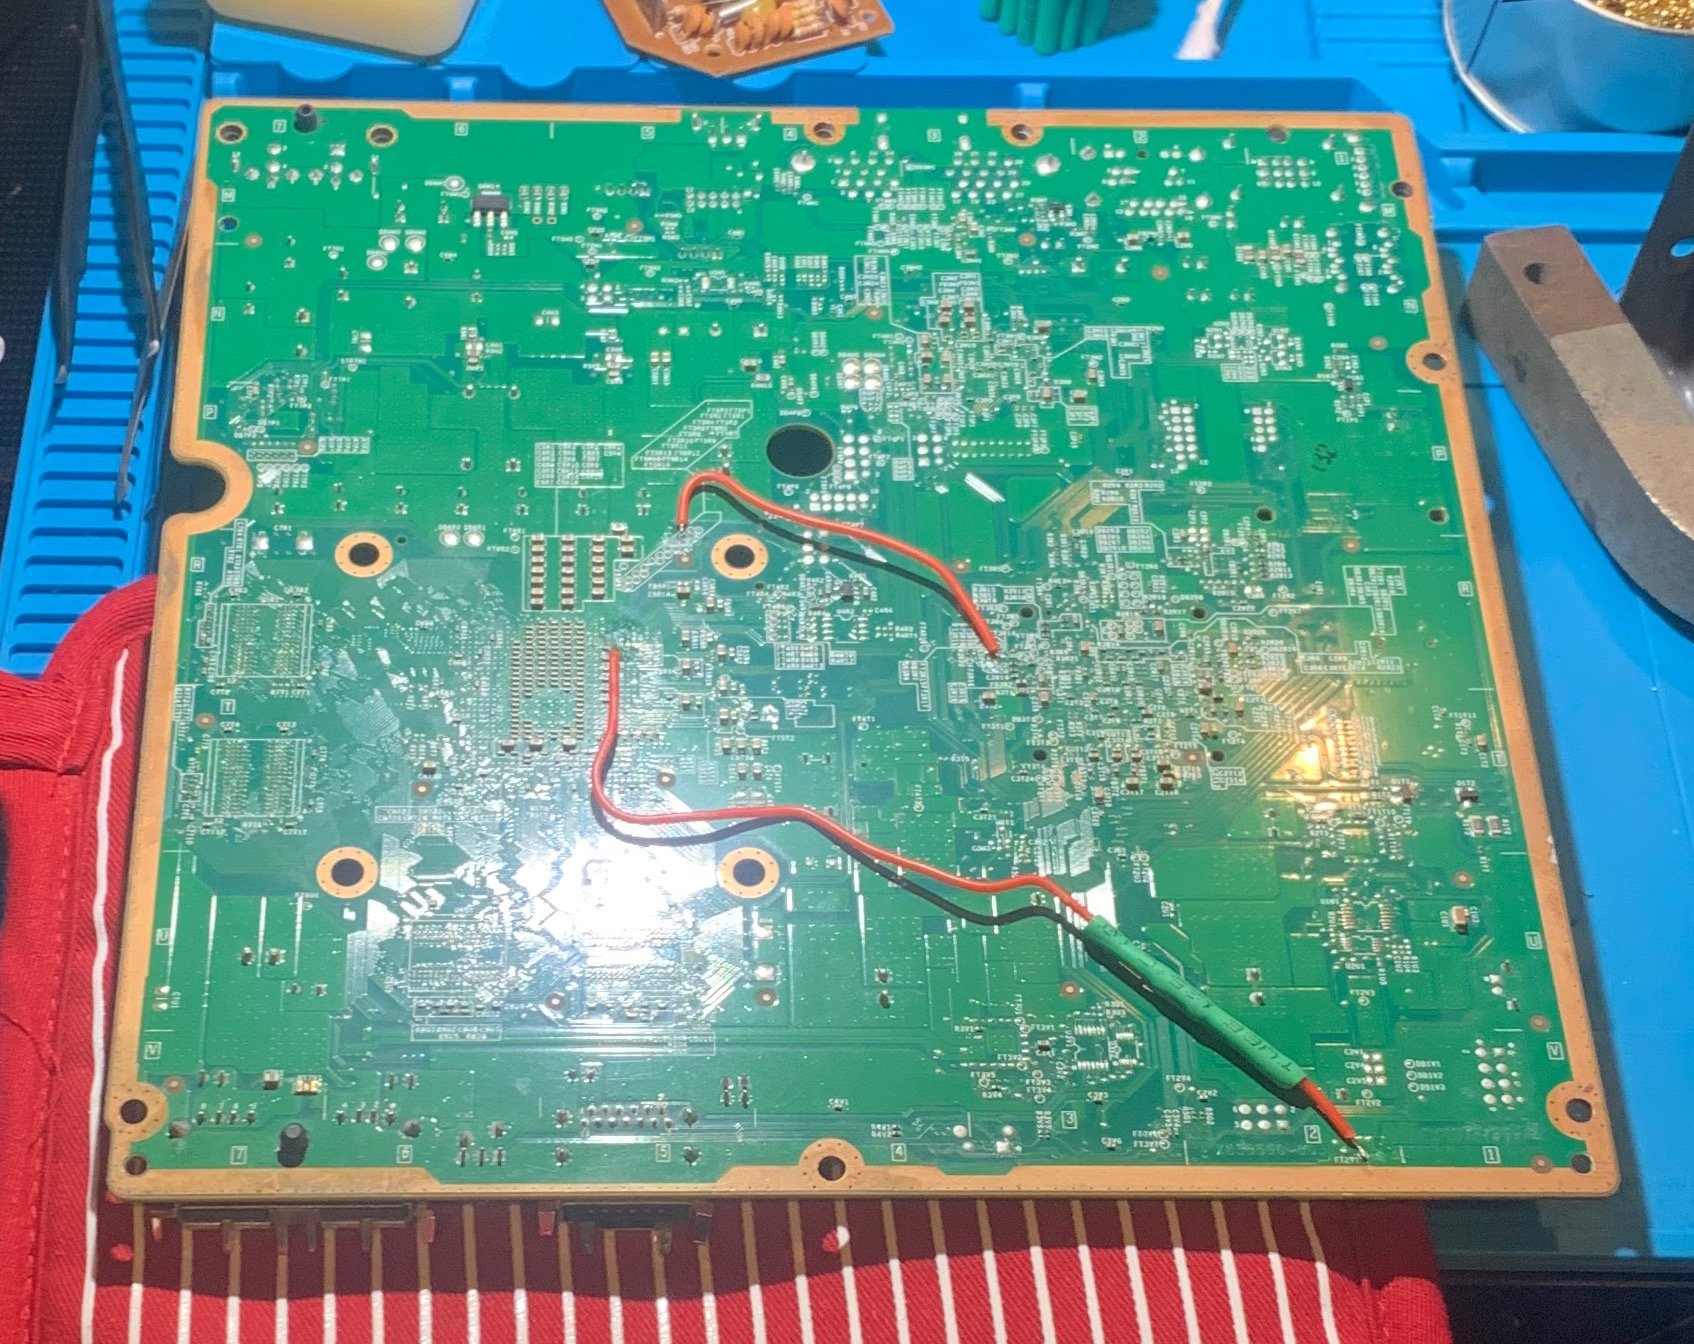 This is when I soldered seven wires to the motherboard to reprogram the NAND. After plugging the Xbox into the TV and seeing the XELL RELOADED screen, I was extremely happy that I didn't break any part of it.
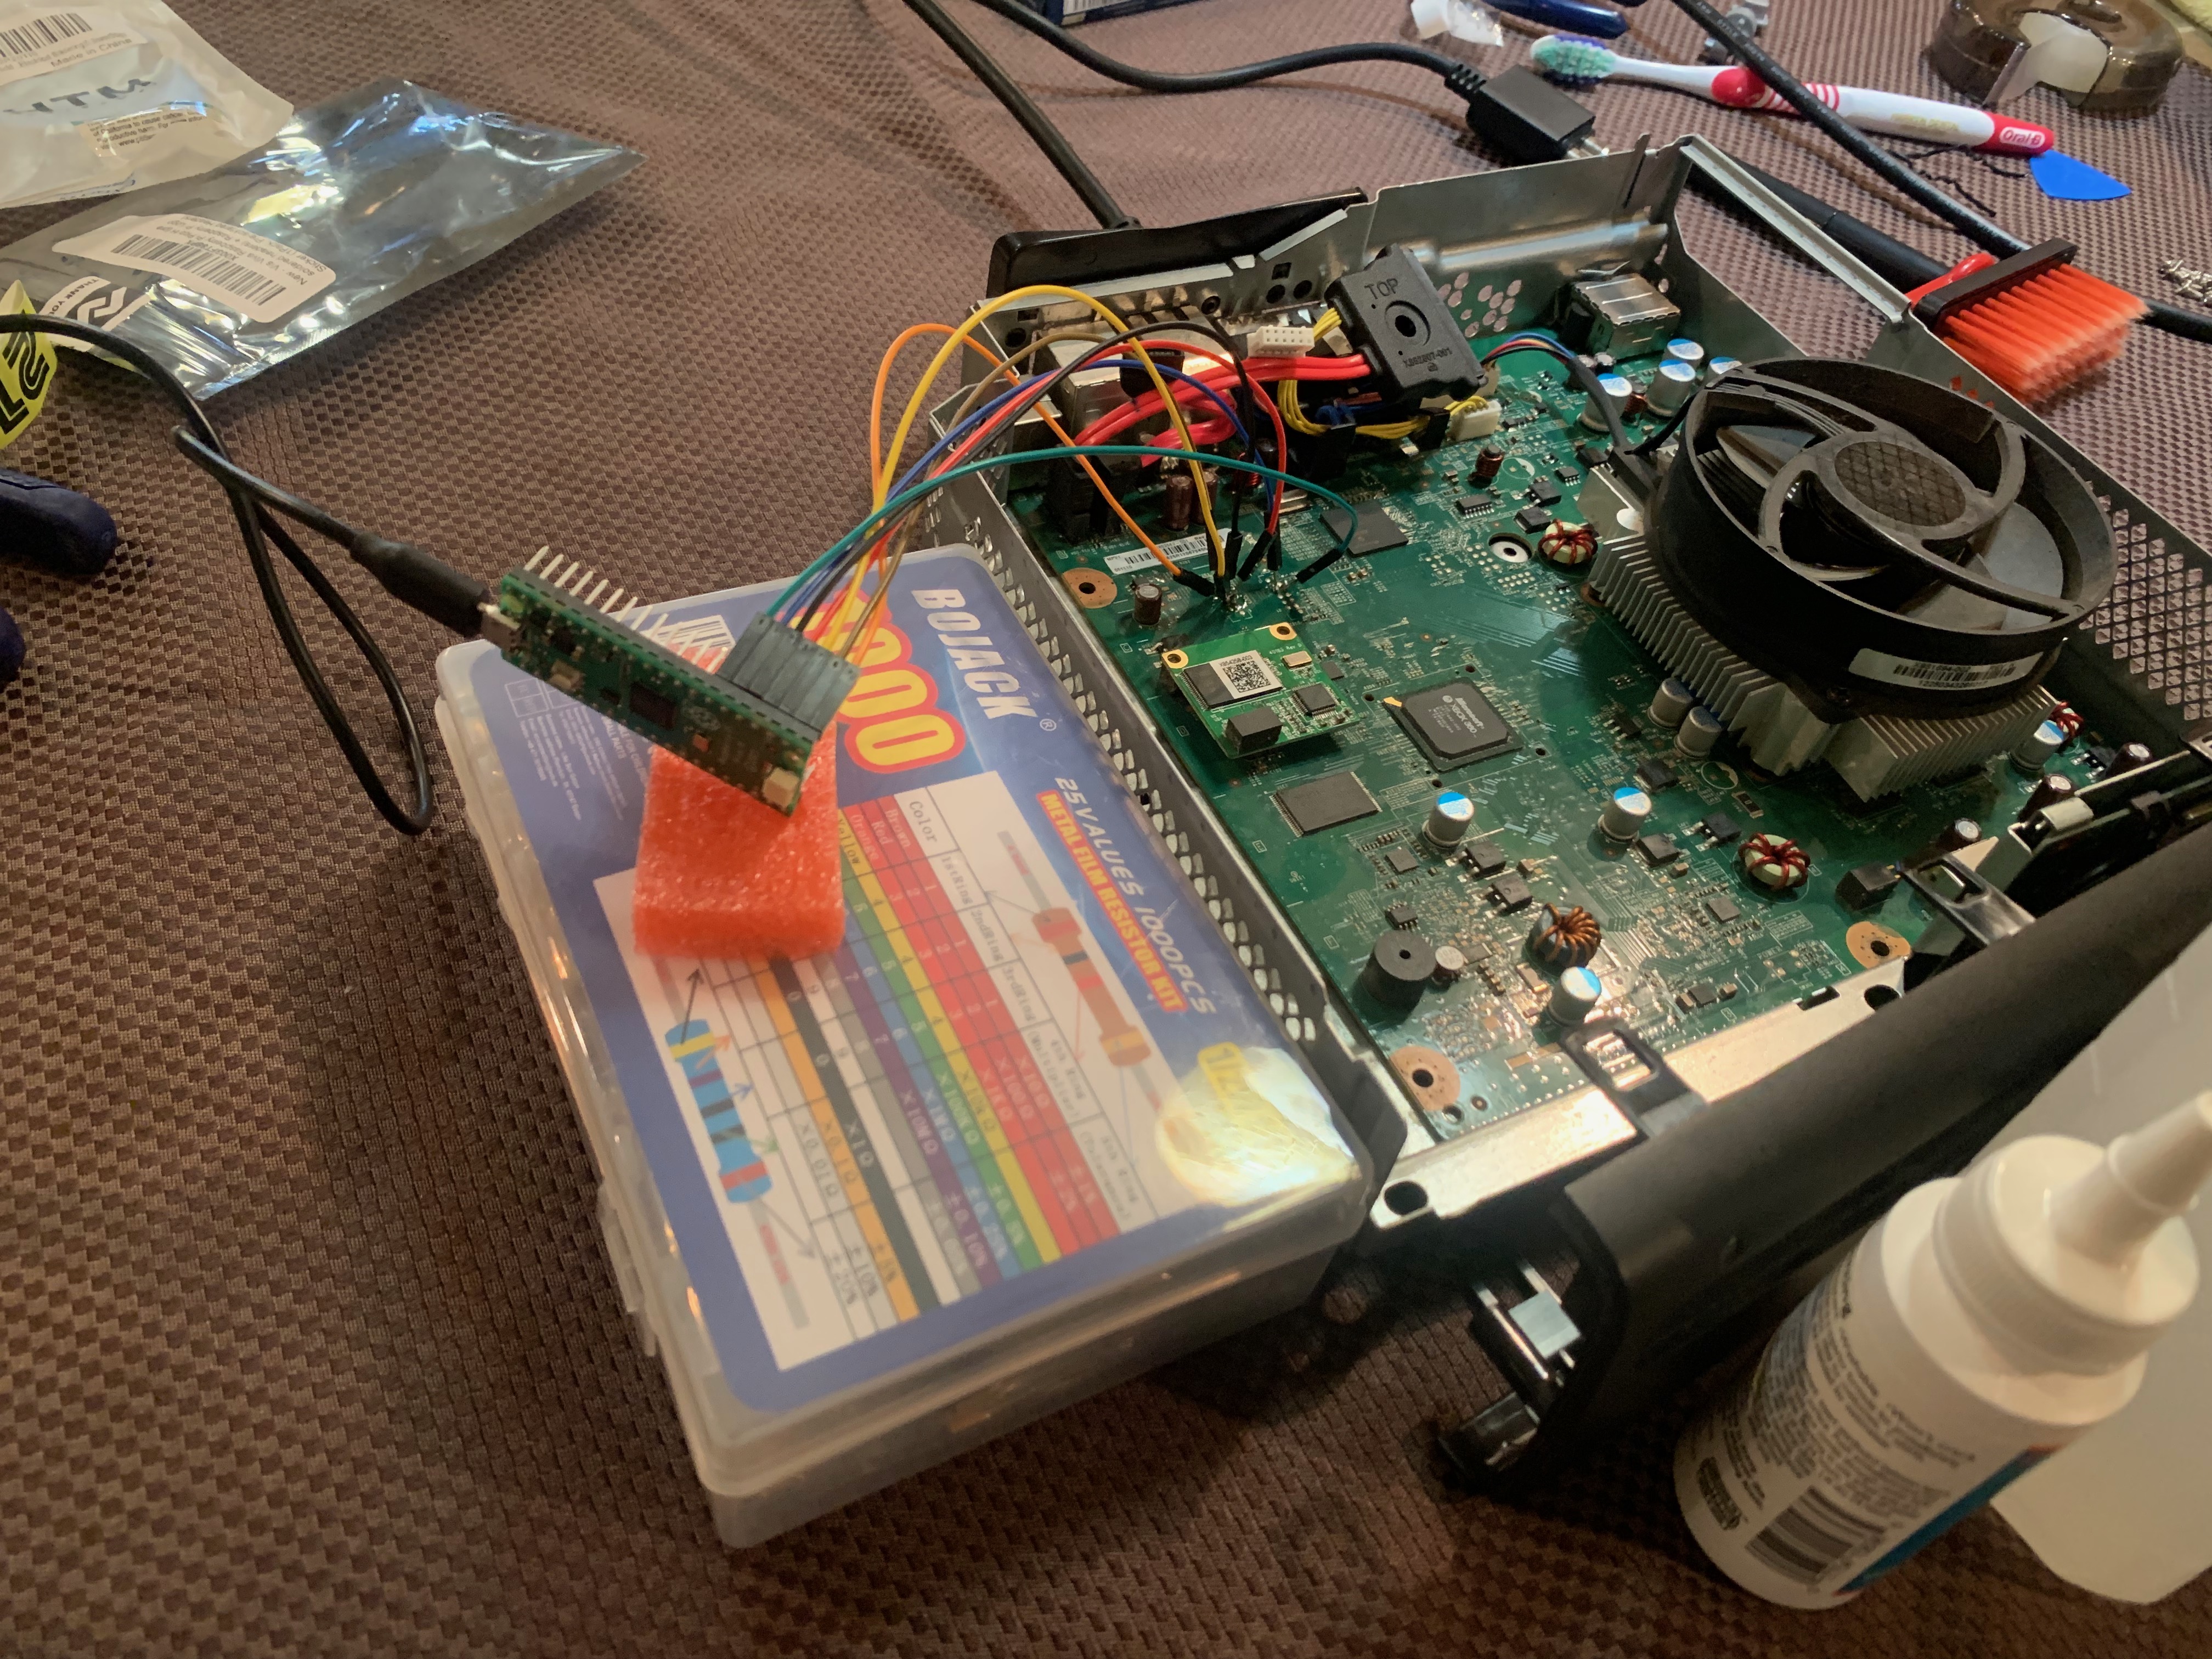
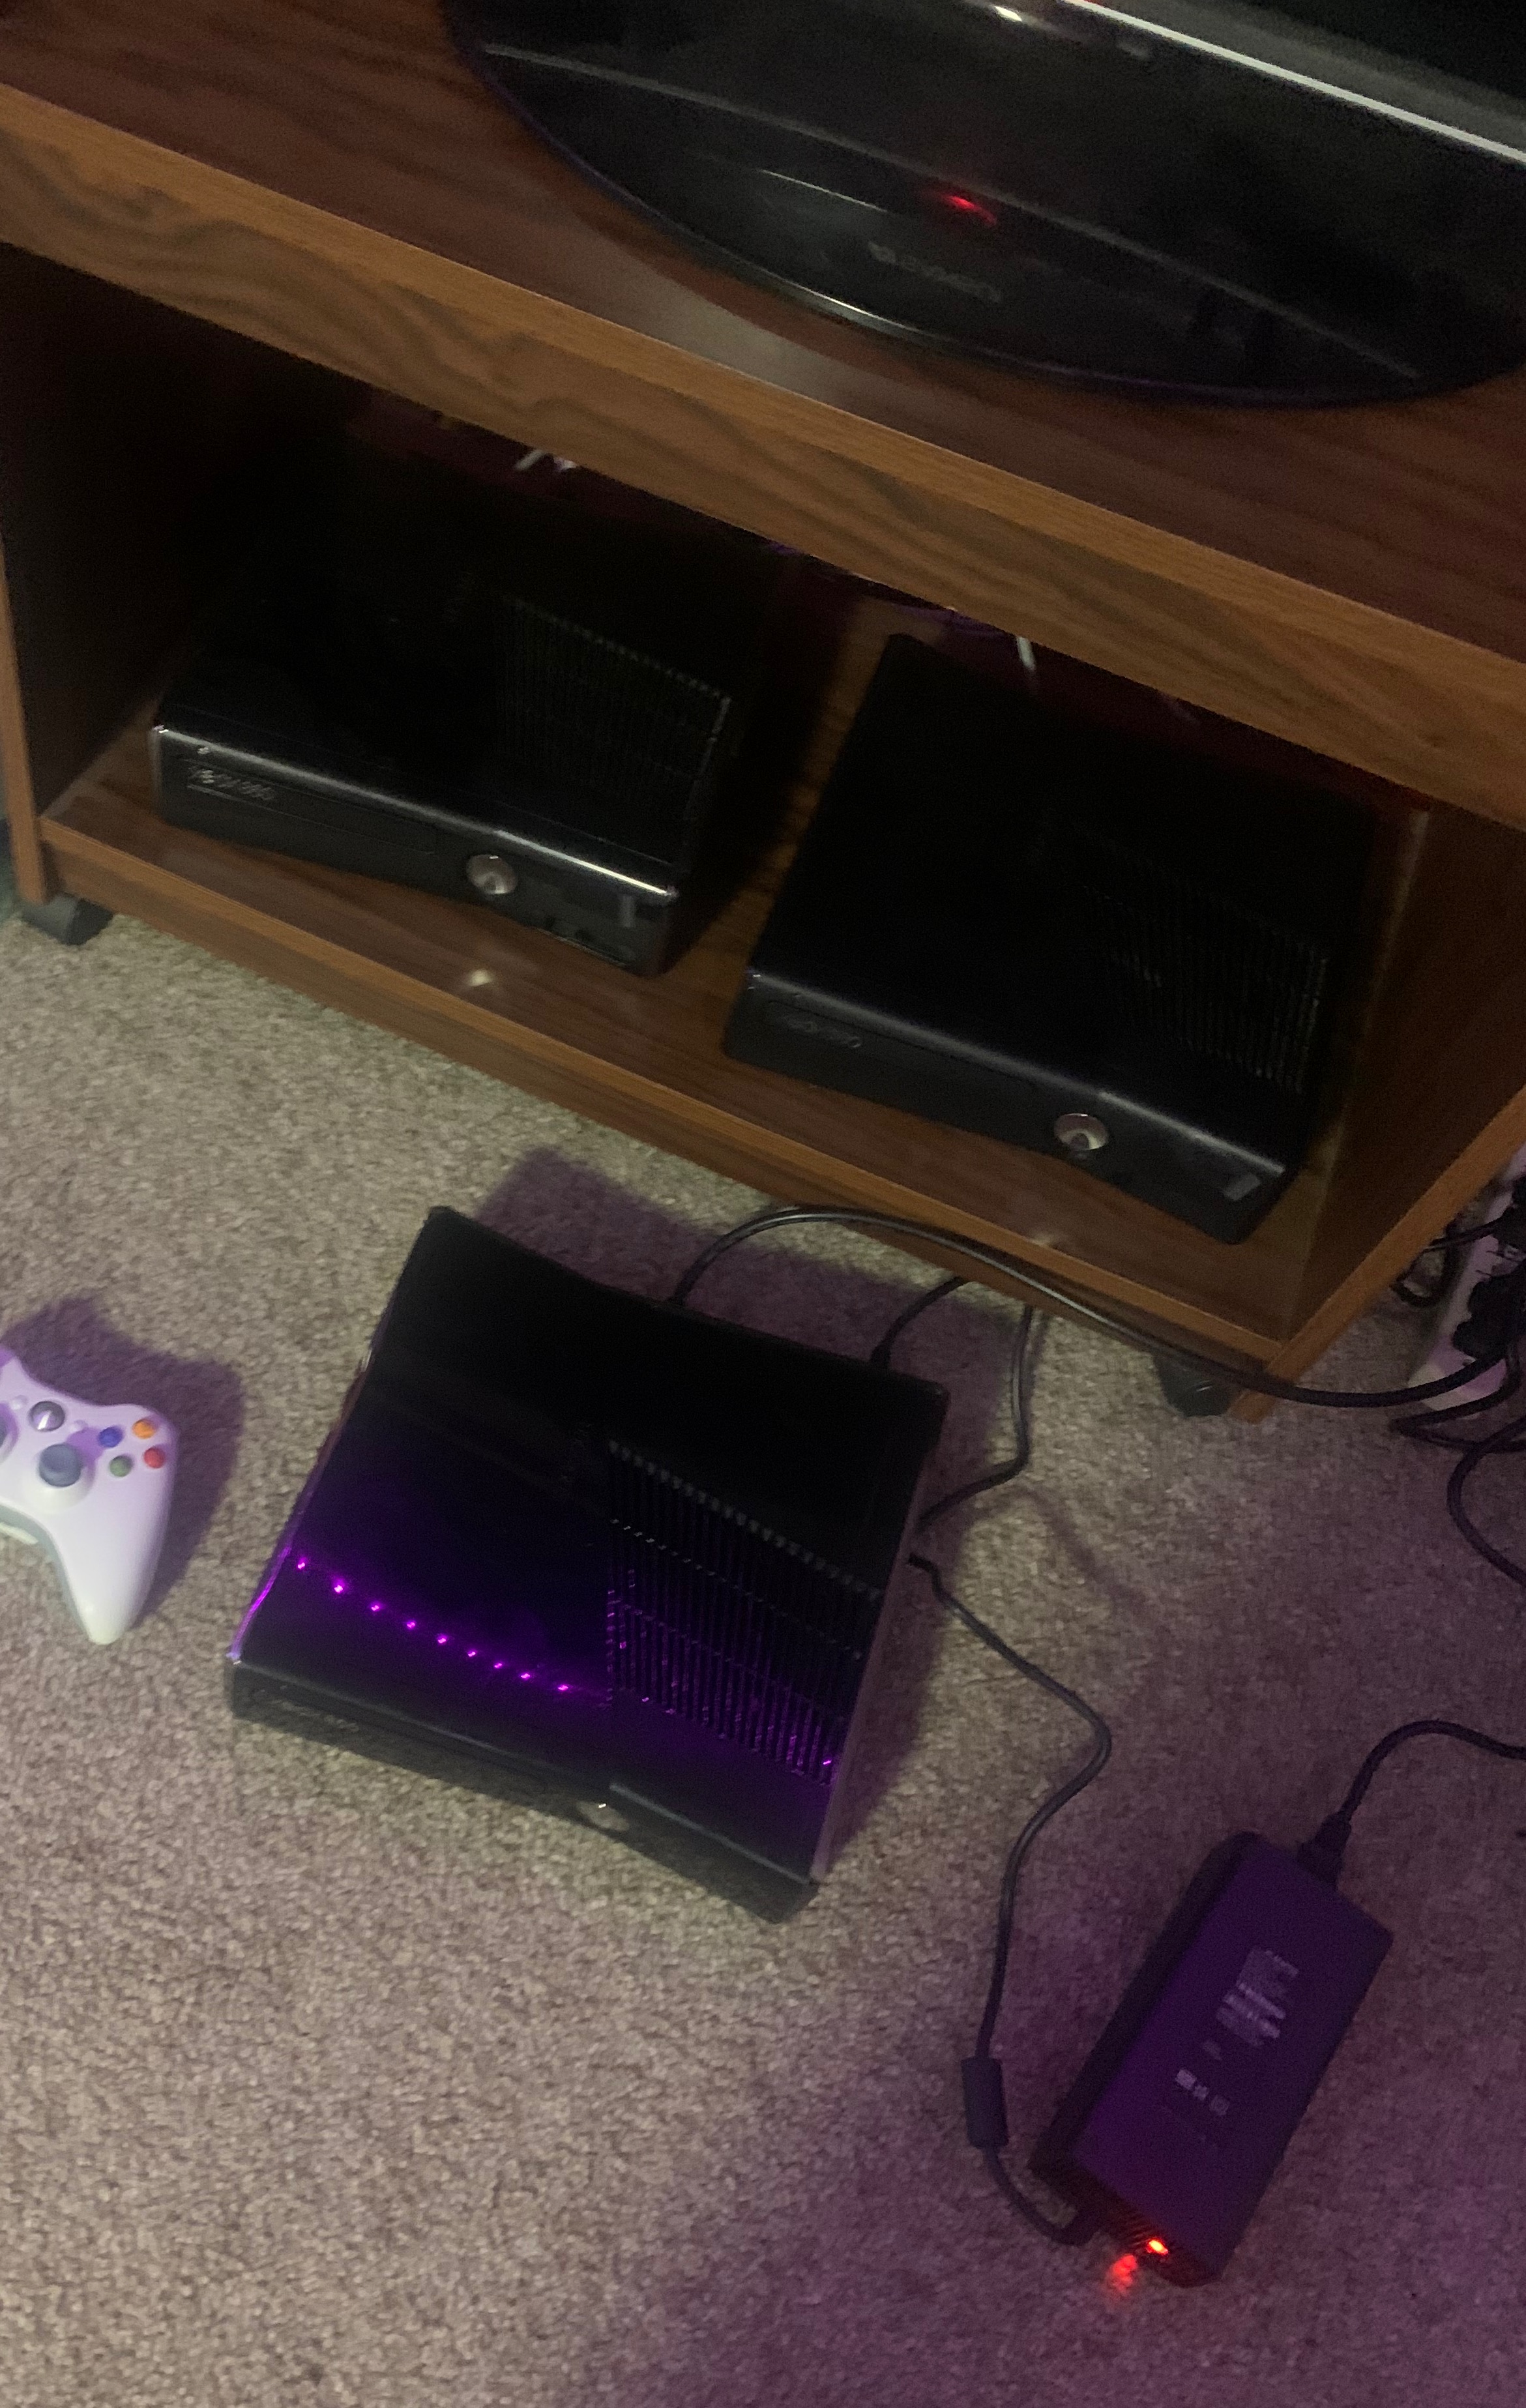
 After repeating this whole process three times, all the Xbox 360s worked and booted into Aurora perfectly.